This page may contain affiliate links. As an Amazon Associate I earn from qualifying purchases.
How to Setup Your New 3D Printer
If you’ve just bought your first 3D printer, then you’ll no doubt be super excited to get it set up and start printing as soon as possible.
However, there are some checks and adjustments you should make first that I guarantee you will save you a lot of frustration and lost time in the future.
If you do these checks now, then your new 3D printer will perform perfectly from its first print, and you won’t spend countless hours trying to diagnose failed prints.
These are tips that aren’t written in the user manuals but are what I’ve learned from using 3D printers for hundreds of hours and seeing the same problems crop up repeatedly due to poor setup.
Fully assembled, semi-assembled, or DIY kit
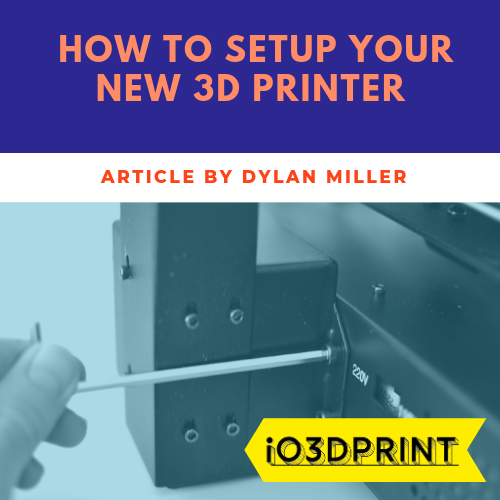
Most of these tips are based on semi-assembled 3D printers like the Creality Ender 3 or the Anycubic I3 Mega.
Many 3D printers like these are now shipped as a semi-assembled kit where you have to bolt two halves of a frame together and then plug in some electrical connectors.
These partial kits are a great compromise between fully-assembled and a complete DIY kit as it keeps manufacture and shipping costs down but only adds a little to the amount of setup work you need to do after unboxing.
It’s also an excellent opportunity for you to learn more about how your 3D printer works so you can more easily diagnose problems in the future.
But whether your 3D printer arrives fully assembled or not, it will still benefit from going through this checklist.
DIY kit 3D printers tend to have more guidance in their instruction manuals for this kind of setup, whereas a fully assembled 3D printer may limit how much you can tweak.
Check for Bad Bearings
Before you do any setup, my top tip is to check for bad bearings. These are the number one part to be DOA on budget 3D printers and can significantly affect your print quality. The most common bearings to fail are linear ball bearings on the X and Z axis.
With your 3D printer turned off, you can slide all the axis along their paths and feel for any roughness. It should be quite apparent if you have a failed bearing, it may even sound like scraping.
On 3D printers like the Ender 3 where wheels on radial bearings run along a groove in the frame you can turn each wheel to check for resistance which would indicate a bad bearing.
Square the Frame
My first and most important tip is to make sure your 3D printer is square and true to itself.
One of the most common causes of failed prints is the X-axis not being set square.
You should start by making sure the x-axis is parallel to the base frame. The base frame is the part of the printer frame that the bed is attached to, but not the bed itself. The x-axis is the horizontal part that the extruder moves on.
To do this, you can either measure the angle of the base frame and make sure the x-axis angle is the same. Or you can measure the height of the x-axis relative to the base frame on each side and make sure the measurements are equal.
Note; the object is to make your 3D printer level to itself not to make your 3D printer level relative to your workbench.
The best tool for this is a digital level as it will allow you to create a reference angle and measure relative to this. Alternatively, you can measure using slip gauges or a steel rule.
This will be your reference to set everything else square to. If you have a digital level, you can press the ‘abs’ function to set this as your reference.
How you adjust the x-axis will be different depending on your specific 3D printer model. Creality CR-10 and Ender 3 style models have an adjustable cam on one of the wheels that the x-axis runs on.
On models with two z-axis lead screws, you can disengage the motors from the control and manually turn the leadscrew until it is level.
Now push the X-axis up in Z and make sure it stays level along its whole travel. Undo the Z-axis stepper motor coupling from the leadscrew and then tighten it again. This ensures the stepper motor is aligned with the leadscrew. It’s very common for this to be off.
Check Your Print Bed
Now check your print bed is flat. Lay a steel rule or an engineer’s square across the bed and look to see if there is a gap between them. If it’s hard to tell, shine a bright torch behind it. If you can see a solid beam of light between the rule and the bed, then your bed isn’t flat. If the rule wobbles then it definitely isn’t flat.
If your bed isn’t flat, then there isn’t a way to properly fix it. Ideally, you will need to replace it with a new one. A cheap option is to use a mirror as they are affordable and they have to be perfectly flat to form a non-distorted reflection. A popular choice is the IKEA brand.
As a temporary measure, you can apply thin shims made of aluminum foil under the low parts of your bed.
Now you know your bed is flat you can level it. Many people think leveling the bed is making it flat, but it’s actually making sure it’s level relative to the X-axis.
If your 3D printer has a leveling sensor go ahead and use it. Otherwise, the method of sliding paper between the nozzle and the print bed is ok but subject to variation as it’s down to how consistently you feel the resistance.
A better idea is to invest in some feeler gauges. These will be much more consistent and easier to measure than paper.
Lubricate
Anywhere in your 3D printer mechanism that has metal to metal moving contact should be lubricated well.
On new 3D printers, especially cheaper ones, I’ve often seen grease applied haphazardly to critical components like the leadscrews and linear bearings.
The first thing to lubricate is the leadscrew. Use a silicone-based grease that is safe for plastics. Superlube is a perfect choice.
Now your leadscrew is correctly set and lubricated you should find it moves up and down with only a small amount of force applied and if left it will gradually fall under its own weight.
If you don’t mind the effort, it’s a good idea to lubricate any linear bearings as they aren’t sealed and are vulnerable to insufficient lubrication and dirt ingress.
Print Your First Layer Slowly
Finally, when you do print, make sure you set your slicer to print your first one or two layers very slowly. Go as slow as 10mm/s to ensure the first layer is as good as it can be and it will provide the best foundation for the rest of your print.
The remaining print can increase to 60mm/s without issue.
Print!
Once you’ve done all that you will have done pretty much all you can to guarantee a perfect first print and saved yourself a lot of time and frustration in trying to diagnose a failed print.
Happy printing!
-Dylan